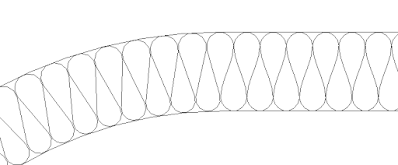
If you are one of my old subscribers, you may remember one of my old posts which is about Curved Insulation in Revit. It's 8 years ago and Revit still doesn't provide curved insulation... Really? It's 2021, Musk is going to Mars!!
My last insulation family was not bad but not good enough either. This time, I created a Dynamo graph for the same job. And it's more convenient and better than basic insulation tool in some ways.
 |
| Is this what you imagine? See below if yes. |
I created two different Dynamo graph.
1st. Using Arcs and Straight Lines.
It's created by my traditional method, Math.
 |
| This is just a part of the graph. |
It works quite well, but I found a small faulty on this.
 |
| Looks fine.. But. |
It can't generate an insulation which has small Width Ratio(wide insulation interval) like below picture.
 |
| Basic Revit Insulation. Width Ratio=1 |
 |
| 11 points are necessary to imitate a half unit of insulation at least |
 |
| Can you find where is the original Insulation? |
 |
| Revit Insulation.. it's hard to fill wall section(or plan) completely. |
 |
| Automatic Ratio Adjust from my dyn. Yes, it works for not only curve but also straight line. |
No comments:
Post a Comment